How to Use an Oven Thermometer for Accurate Baking

,文章字数在1000字左右
# How to Use an Oven Thermometer for Accurate Baking
Baking is both an art and a science, and one of the most critical factors in achieving perfect results is maintaining the correct oven temperature. Many home bakers assume their oven’s built-in thermostat is accurate, but the truth is, most ovens can be off by 25°F or more. This is where an oven thermometer becomes an essential tool in your baking arsenal.
## Why You Need an Oven Thermometer
Your oven’s temperature dial or digital display might tell you it’s set to 350°F, but without verification, you can’t be certain. Temperature fluctuations can lead to:
– Underbaked centers
– Overbrowned exteriors
– Uneven cooking
– Failed recipes
An oven thermometer provides the truth about what’s happening inside your oven, allowing you to adjust accordingly for consistent, reliable results.
## Types of Oven Thermometers
There are several types of oven thermometers available:
### 1. Analog Dial Thermometers
These traditional thermometers feature a metal dial with an easy-to-read face. They’re durable, don’t require batteries, and typically hang from an oven rack.
### 2. Digital Probe Thermometers
More advanced models offer digital displays with probes that remain in the oven while the display sits outside. These often provide more precise readings.
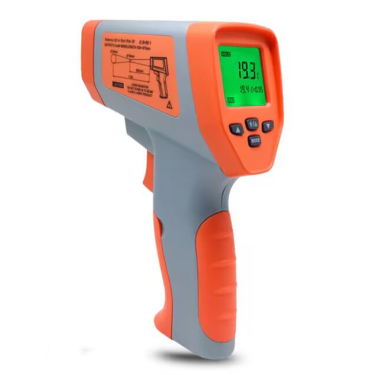
### 3. Infrared Thermometers
While not suitable for continuous oven monitoring, infrared thermometers can provide spot checks of surface temperatures.
For most home bakers, a simple analog dial thermometer provides sufficient accuracy at an affordable price.
## How to Properly Use an Oven Thermometer
### Placement Matters
Where you place your oven thermometer significantly affects its readings:
– Place it in the center of the middle rack for the most accurate assessment
– Avoid touching oven walls or other pans
– Keep it away from heating elements
### Testing Your Oven’s Accuracy
Follow these steps to check your oven’s calibration:
1. Place the thermometer in the center of the middle rack
2. Preheat your oven to 350°F
3. Wait at least 20 minutes after the oven indicates it’s reached temperature
4. Check the thermometer reading through the oven window (avoid opening the door)
5. Note any discrepancy between the set temperature and actual temperature
### Interpreting the Results
If your oven thermometer shows:
– Within 10°F of the set temperature: Your oven is well-calibrated
– 10-25°F difference: Consider adjusting your baking times or temperatures
– More than 25°F difference: Your oven likely needs professional calibration
## Adjusting for Oven Variations
Once you know your oven’s true temperature, you can adjust your baking in several ways:
### 1. Temperature Adjustment
If your oven runs hot, reduce the set temperature by the difference you observed. For example, if it’s 25°F hotter than set, bake at 325°F when the recipe calls for 350°F.
### 2. Baking Time Adjustment
For ovens that run cool, you may need to increase baking times by 5-10 minutes per 25°F difference.
Keyword: oven thermometer
### 3. Position Adjustment
If your oven has hot spots (which you can identify by baking a sheet of bread slices), rotate your pans during baking for even cooking.
## Maintaining Your Oven Thermometer
To ensure ongoing accuracy:
– Clean it regularly with a soft cloth (avoid abrasive cleaners)
– Check for calibration annually by testing in boiling water (should read 212°F at sea level)
– Replace if the needle sticks or the glass becomes cloudy
– Store it in a dry place when not in use
## Advanced Tips for Serious Bakers
For those who want to take their baking precision to the next level:
### 1. Multiple Thermometer Placement
Use two thermometers placed in