Acurite Weather Station Installation Guide

# Acurite Weather Station Installation Guide
Installing an Acurite weather station can be a rewarding experience, providing you with accurate and real-time weather data right from your backyard. Whether you’re a weather enthusiast or simply want to keep track of local conditions, this guide will walk you through the installation process step by step.
## Choosing the Right Location
Before you start the installation, it’s crucial to select the right location for your Acurite weather station. The ideal spot should be:
– Open and unobstructed: Ensure the area is free from tall buildings, trees, or other structures that could block wind or sunlight.
– Level ground: Place the station on a flat surface to ensure accurate readings.
– Accessible: Choose a location that is easy to access for maintenance and battery replacement.
## Unboxing and Preparing Your Acurite Weather Station
Once you’ve chosen the perfect location, it’s time to unbox your Acurite weather station. Here’s what you’ll typically find inside:
– The main display unit
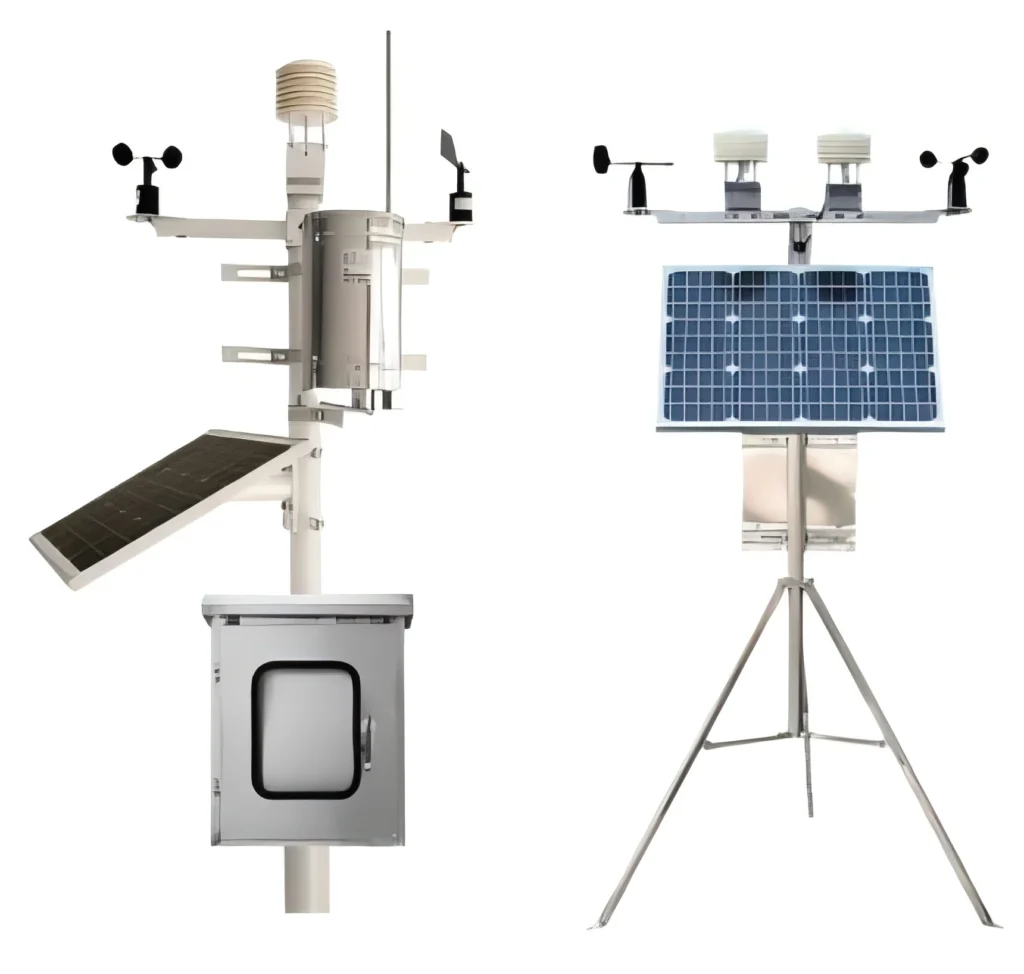
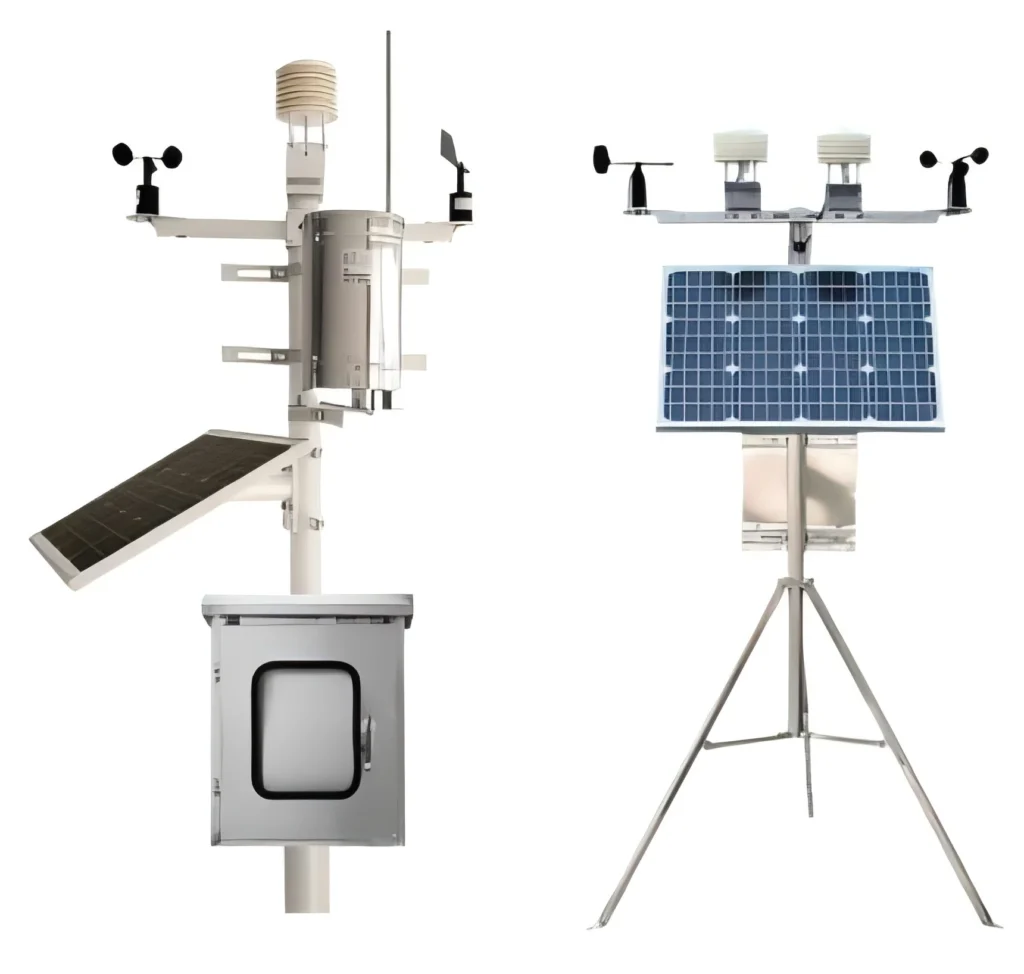
– Outdoor sensors (temperature, humidity, wind, and rain)
– Mounting hardware (brackets, screws, etc.)
– Instruction manual
Take a moment to familiarize yourself with each component and read through the instruction manual. This will help you understand how everything fits together and ensure a smooth installation process.
## Installing the Outdoor Sensors
The outdoor sensors are the heart of your Acurite weather station, so proper installation is key. Follow these steps:
– Mount the temperature and humidity sensor: Attach it to a pole or wall using the provided mounting hardware. Ensure it’s positioned at least 5 feet above the ground and away from direct sunlight or heat sources.
– Install the wind sensor: Place it at the highest point possible, ideally 10-20 feet above the ground. Make sure it’s free from obstructions to get accurate wind speed and direction readings.
– Set up the rain gauge: Position it on a flat surface, away from trees or buildings that could block rainfall. Ensure it’s level to prevent inaccurate measurements.
## Setting Up the Display Unit
With the outdoor sensors in place, it’s time to set up the display unit inside your home. Here’s how:
– Choose a location: Place the display unit in a convenient spot where you can easily view the data. Avoid placing it near electronic devices that could cause interference.
– Power it up: Insert the required batteries or plug it into a power outlet, depending on the model.
– Sync the sensors: Follow the instructions in the manual to pair the outdoor sensors with the display unit. This usually involves pressing a sync button on both the display and the sensors.
## Calibrating and Testing Your Weather Station
Once everything is set up, it’s important to calibrate and test your Acurite weather station to ensure accurate readings. Here’s what to do:
– Check the temperature and humidity: Compare the readings with a trusted source, such as a local weather station, and adjust if necessary.
– Test the wind sensor: Ensure it’s correctly aligned and providing accurate wind speed and direction data.
– Verify the rain gauge: Pour a known amount of water into the gauge and check if the display unit records it correctly.
## Maintaining Your Acurite Weather Station
Regular maintenance is essential to keep your Acurite weather station functioning optimally. Here are some tips:
– Clean the sensors: Periodically remove dirt, debris, and spider webs from the outdoor sensors to ensure accurate readings.
– Check the batteries: Replace the batteries in both the display unit and outdoor sensors as needed.
– Inspect the mounting hardware: Ensure all brackets and screws are secure and free from rust or damage.
By following this Acurite weather station installation guide, you’ll be well on your way to enjoying accurate and reliable weather data from the comfort of your home. Happy weather watching!
Keyword: acurite weather station installation
